RTV Drawing Manager for Autodesk Revit is a tool designed to manage and streamline workflows, particularly when working with multiple Revit files in a project. This can save significant amounts of time and reduce manual work in various aspects of a project.
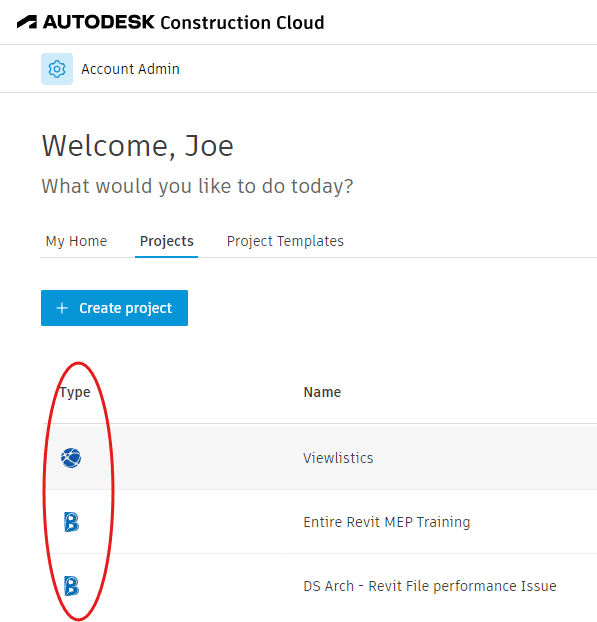
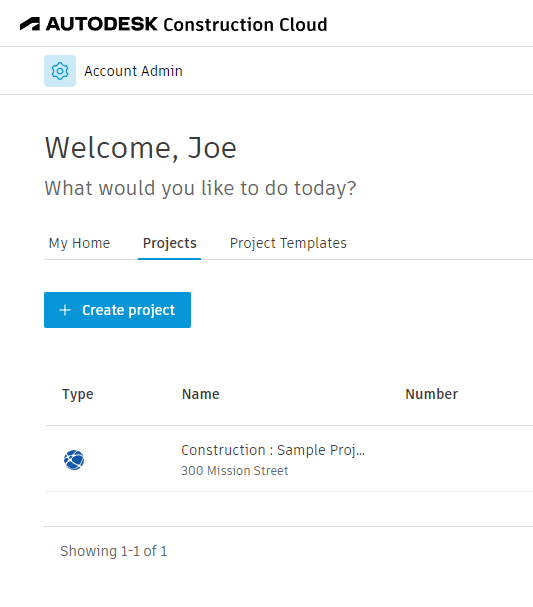
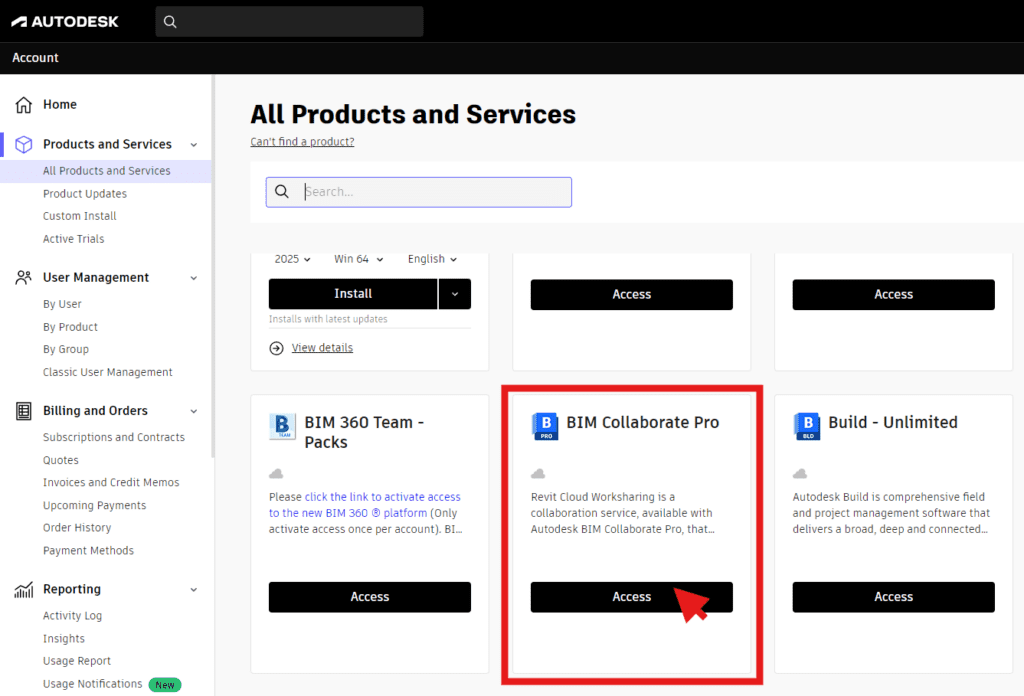
With a cloud-based solution like BIM Collab Pro, you’ll never have to worry about version control again. It’s like magic! And no more trying to remember which local drive or server you saved the latest version of the project to.
These Markup tools provide a quick and efficient way to communicate design intent, coordinate changes, and track project progress. Whether you’re an architect, engineer, contractor, or owner, the benefits of these tools are clear: they streamline your workflow, reduce errors and rework, and ultimately help you deliver projects faster and with greater accuracy.
More than ever Architectural Practices have to consider supply chain shortages in skills and materials. This impact is enormous when viewed in the light of planning issues, extended time frames and costs overruns.
Drawing Manager from RTV Tools may take away some of your pain.
RTV Tools is best known for its RTV Exporter for dealing with weekly document deliverables, allowing your to save presets for Sheets so it becomes a one button exercise (after your visual check). There are many other hidden gems in this Revit Plugin.
Our video blog looks at pointclouds for existing conditions and context survey. We look at some of the benefits in using pointclouds as part of your workflow.
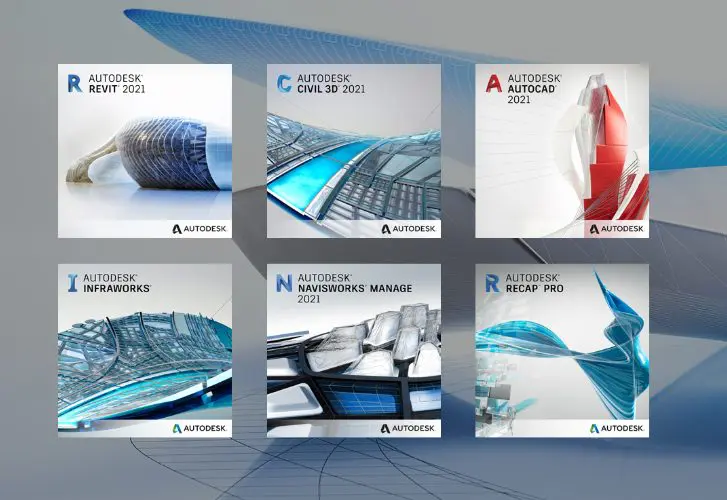
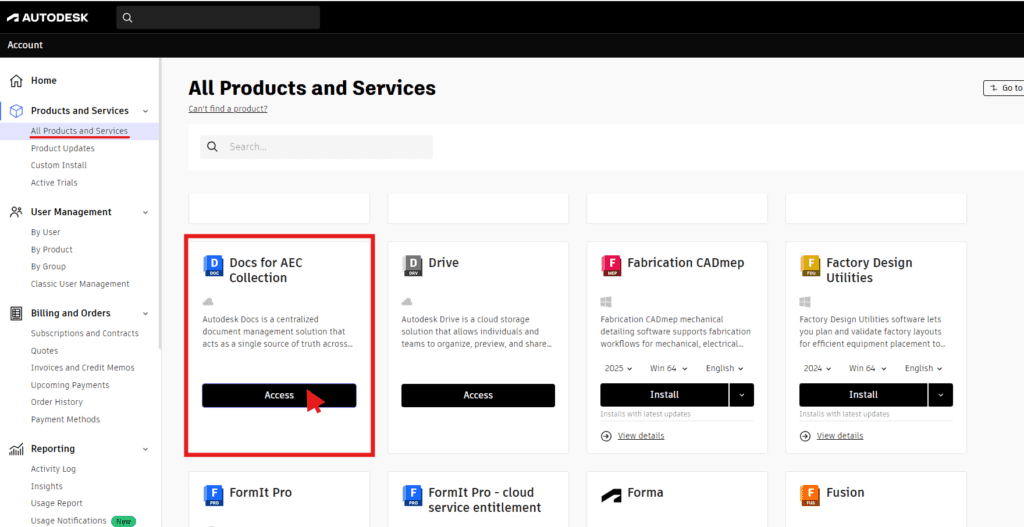
The good (comforting?) news is that your AEC Collection includes RECAP PRO.
Moving from Autocad to Revit, this and the previous tutorial (Survey Files in Revit in 4 easy steps) is for you.
This method will be handy for medium to smaller practices where you don’t have a BIM Manager or Design Technology Lead to rely on.
Reasons for this:
Civil 3D has better tools for generating Roads and Footpaths.
The roads and footpaths are better integrated into the surface model.
Aimed at the Architecture Engineering and Construction (AEC) industry, this collection includes 17 programs, an interesting array of tools to support the current crop of practices adapt to emerging modes of digital delivery.