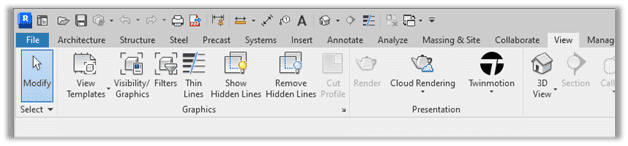
REVIT 2027 Has Arrived!!
Connected, Data‑Led BIM
Rather than introducing disruptive interface change, this release focuses on maturity—improving performance, strengthening data workflows, and laying groundwork for more adaptive model interaction. For technical teams, the value of 2027 lies in productivity gains at scale and improved continuity across project phases.
AI‑Assisted Model Interaction (Tech Preview)
Revit 2027 introduces Autodesk Assistant for Revit, available as a tech preview. The Assistant operates directly within a project, allowing users to query elements, generate schedules, manage views, and retrieve task guidance using natural language.
While capability is currently limited, it provides insight into future possibilities in documentation assistance and model management.
Accelerated Graphics
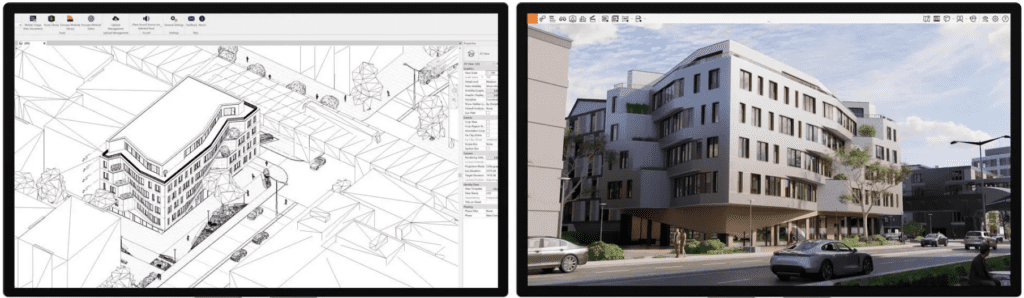
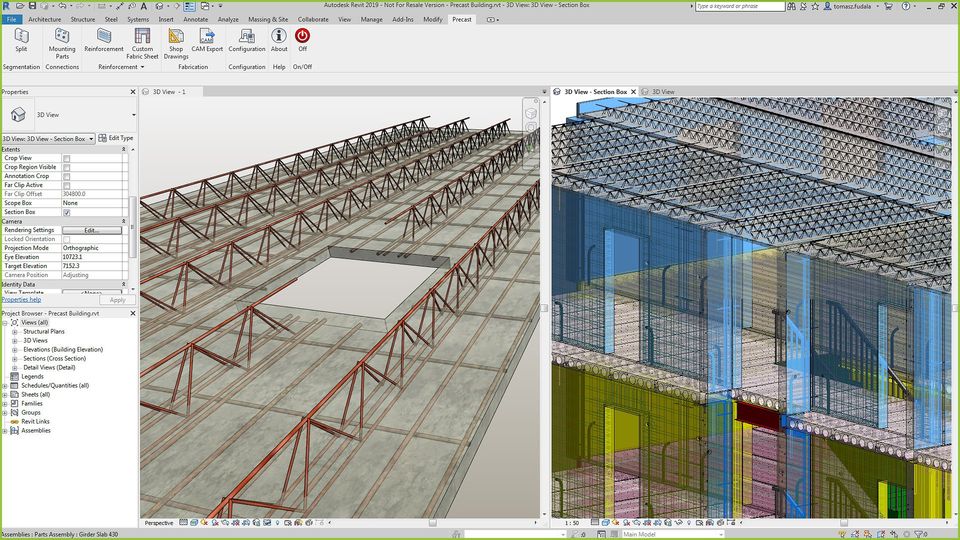
Promoted to a reliable production feature by making more effective use of GPU resources, Revit delivers smoother model navigation, more responsive view regeneration, and improved handling of large or heavily linked models.
This translates to project teams working on complex infrastructure, healthcare, and high‑density developments, seeing reduced friction in coordination and review workflows without altering established modelling standards.
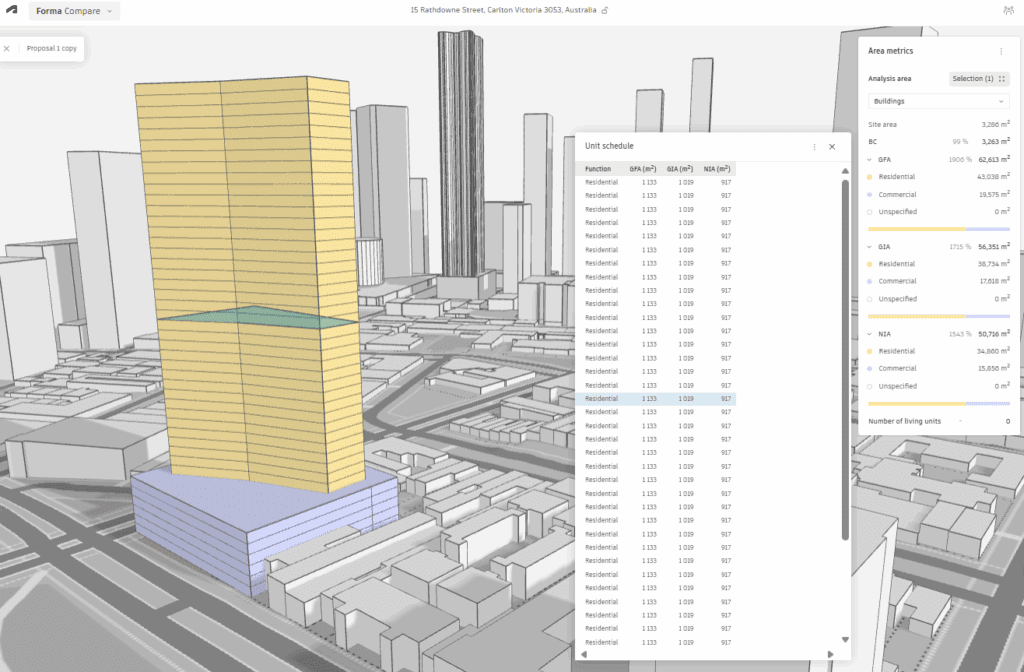
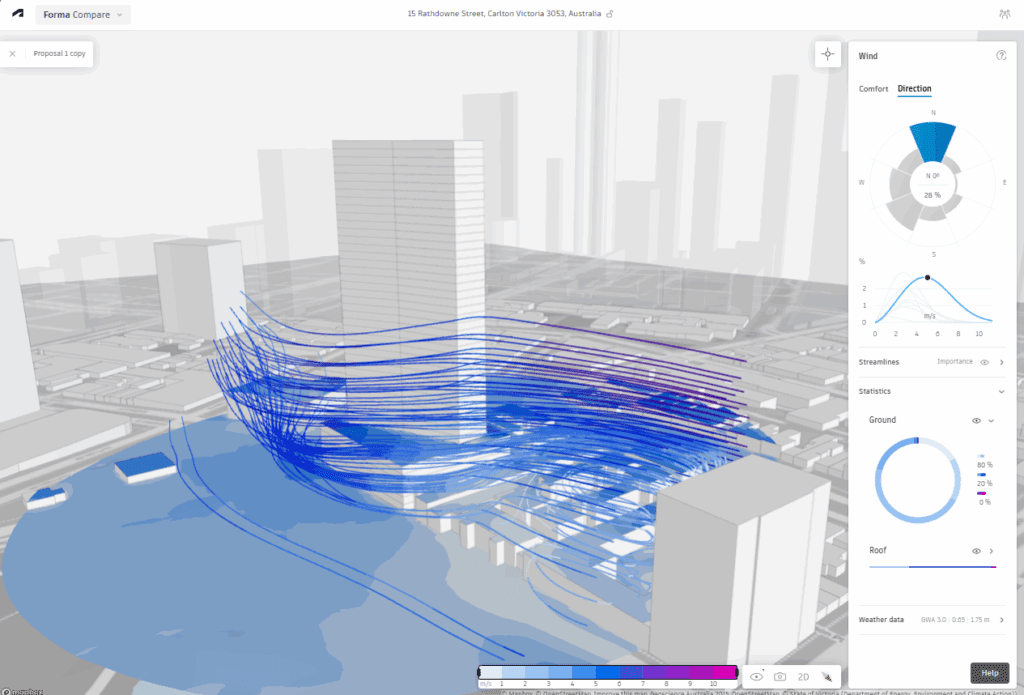
Closer Integration with Autodesk Forma
Revit 2027 extends its integration with Autodesk Forma, supporting more continuous workflows between early‑stage analysis and detailed design. As a Forma‑connected client (tech preview), Revit can reference geolocated site data and environmental insights generated during concept studies.
Relevant for sustainability‑driven projects, enabling earlier alignment between environmental analysis and BIM development.
Targeted Workflow Enhancements
Alongside platform‑level changes, Revit 2027 delivers practical improvements to address production challenges:
- Wall‑on‑wall hosting – improves clunkiness by hosting a secondary wall such as a finish layer on an another wall so they move as one.
Targeted Workflow Enhancements
Alongside platform‑level changes, Revit 2027 delivers practical improvements to address production challenges:
- Wall‑on‑wall hosting – improves clunkiness by hosting a secondary wall such as a finish layer on an another wall so they move as one.
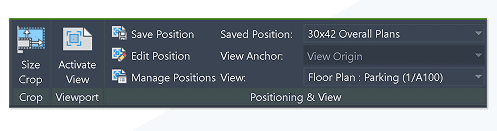
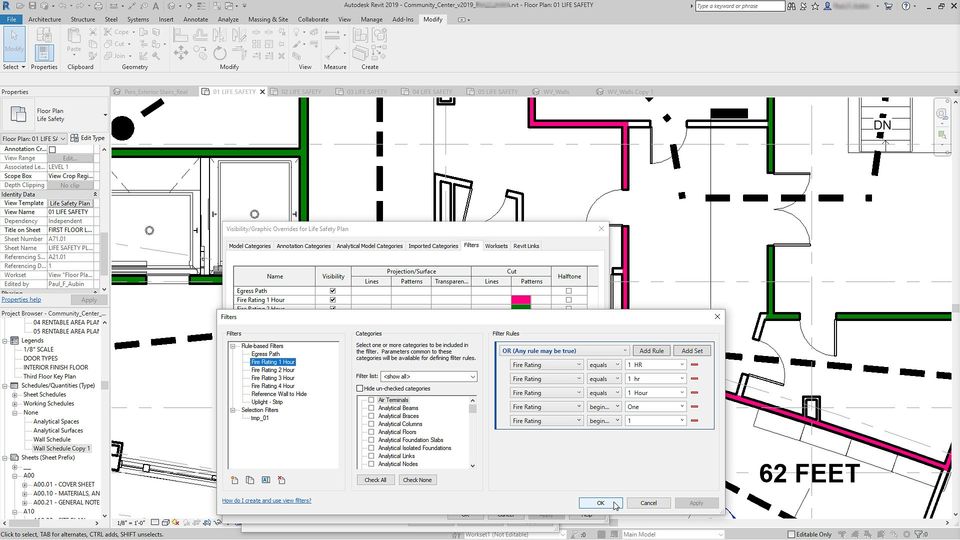
- Rule‑based numbering, allowing automated and consistent element identification driven by defined parameters
- Multi-Category Tagging – is now available using the Tag All workflow.
- Tag Leaders – Leaders can now be positioned manually with quick snapping.
- IFC Parameter mapping – supporting greater interoperability
- UI Dark Mode – Sub-menu’s now better support dark mode.
- Integrated Issues Management – Issues created in Forma Design Collaboration are displayed directly within Revit in both 2D and 3D views
Individually, the updates are modest; collectively, they reduce manual rework and improve model reliability under change.
Targeted Workflow Enhancements
Alongside platform‑level changes, Revit 2027 delivers practical improvements to address production challenges:
- Wall‑on‑wall hosting – improves clunkiness by hosting a secondary wall such as a finish layer on an another wall so they move as one.
- Rule‑based numbering, allowing automated and consistent element identification driven by defined parameters
- Multi-Category Tagging – is now available using the Tag All workflow.
- Tag Leaders – Leaders can now be positioned manually with quick snapping.
- IFC Parameter mapping – supporting greater interoperability
- UI Dark Mode – Sub-menu’s now better support dark mode.
- Integrated Issues Management – Issues created in Forma Design Collaboration are displayed directly within Revit in both 2D and 3D views
Individually, the updates are modest; collectively, they reduce manual rework and improve model reliability under change.
Structured Data and Carbon Awareness
Revit 2027 expands, enabling centrally managed data schemas to be embedded directly into model elements. This supports better data consistency across teams and improves downstream interoperability.
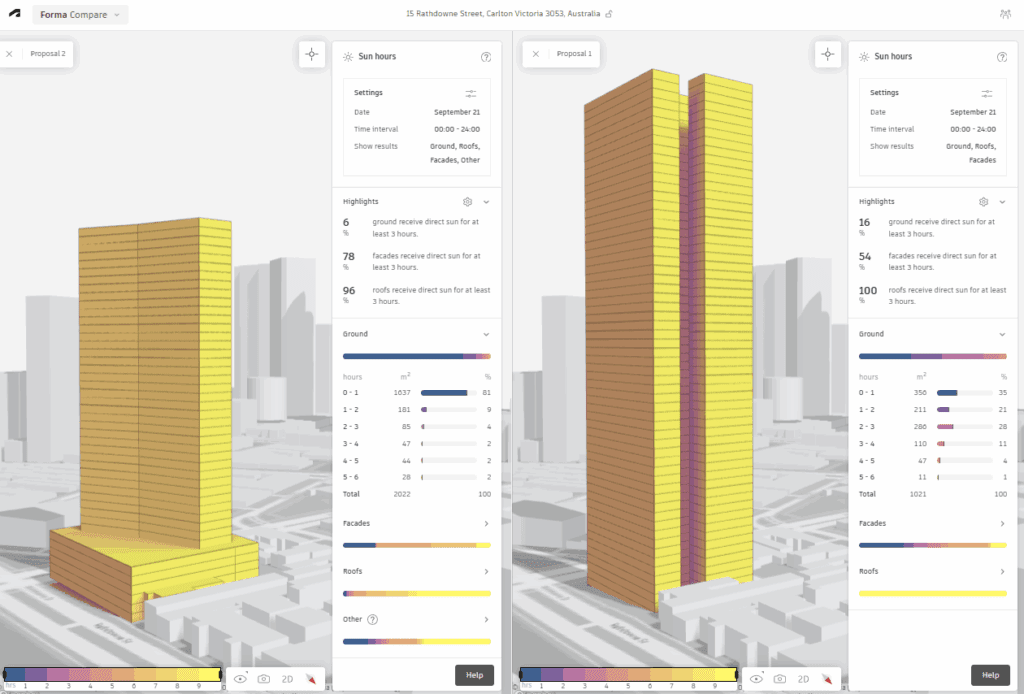
In parallel, the introduction of Forma Carbon Insights signals Autodesk’s ongoing investment in earlier‑stage carbon awareness, supporting more informed design decisions responding to growing sustainability requirements across the region.
Other Features:
- Carbon Analysis
- Energy Analysis
- Stair Numbering Visibility
- Linked Model Line weights
- Property line properties accessible through API
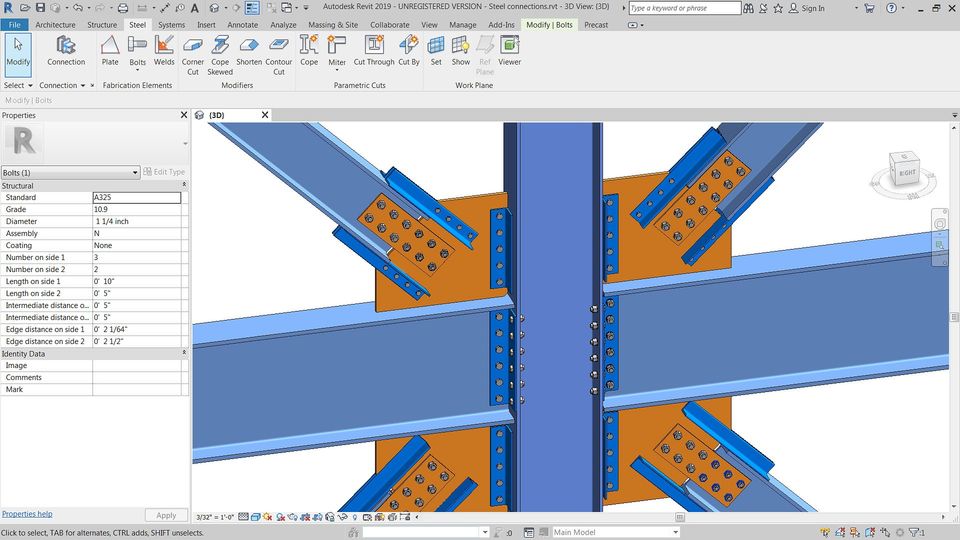
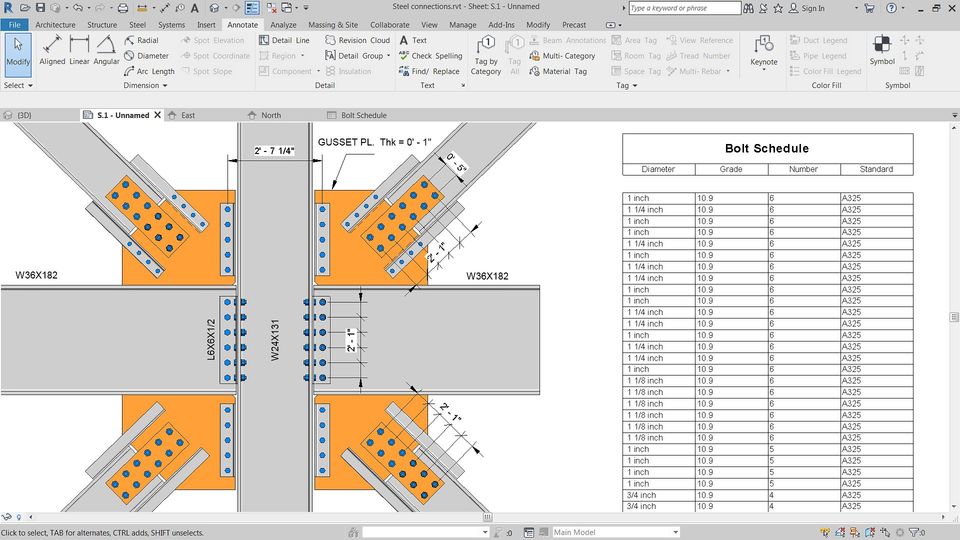
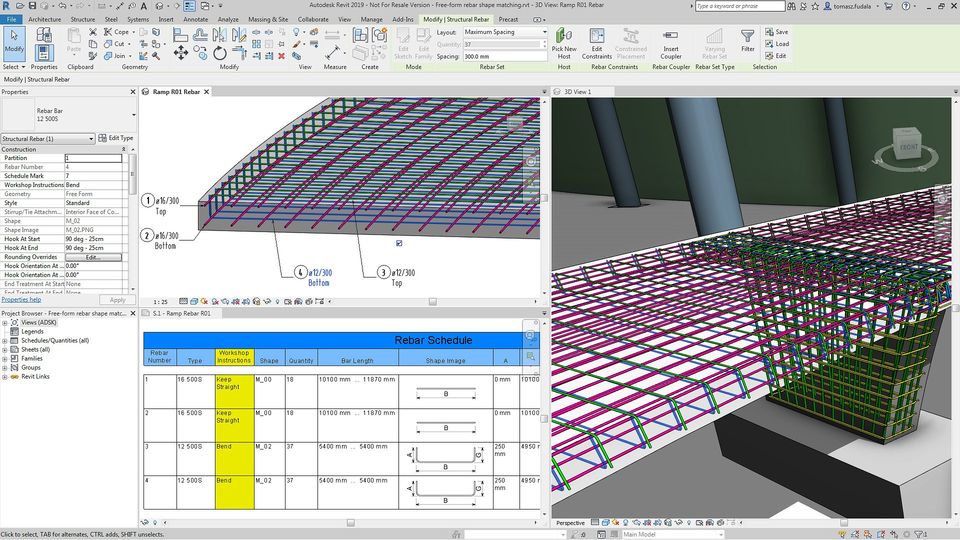
- Structural steel, Concrete detailing and Analytical Panel enhancements
- Dynamo Updates
- HVAC Zones renamed to System-Zones
- Design option Enhancements
OUR TAKE
Revit 2027 is best viewed as a consolidation release, strengthening foundations rather than redefining workflows. A stepping stone along a much longer road to efficient collaboration and project delivery across all sectors, in a cohesive environment.
To see the full improvement list click here.